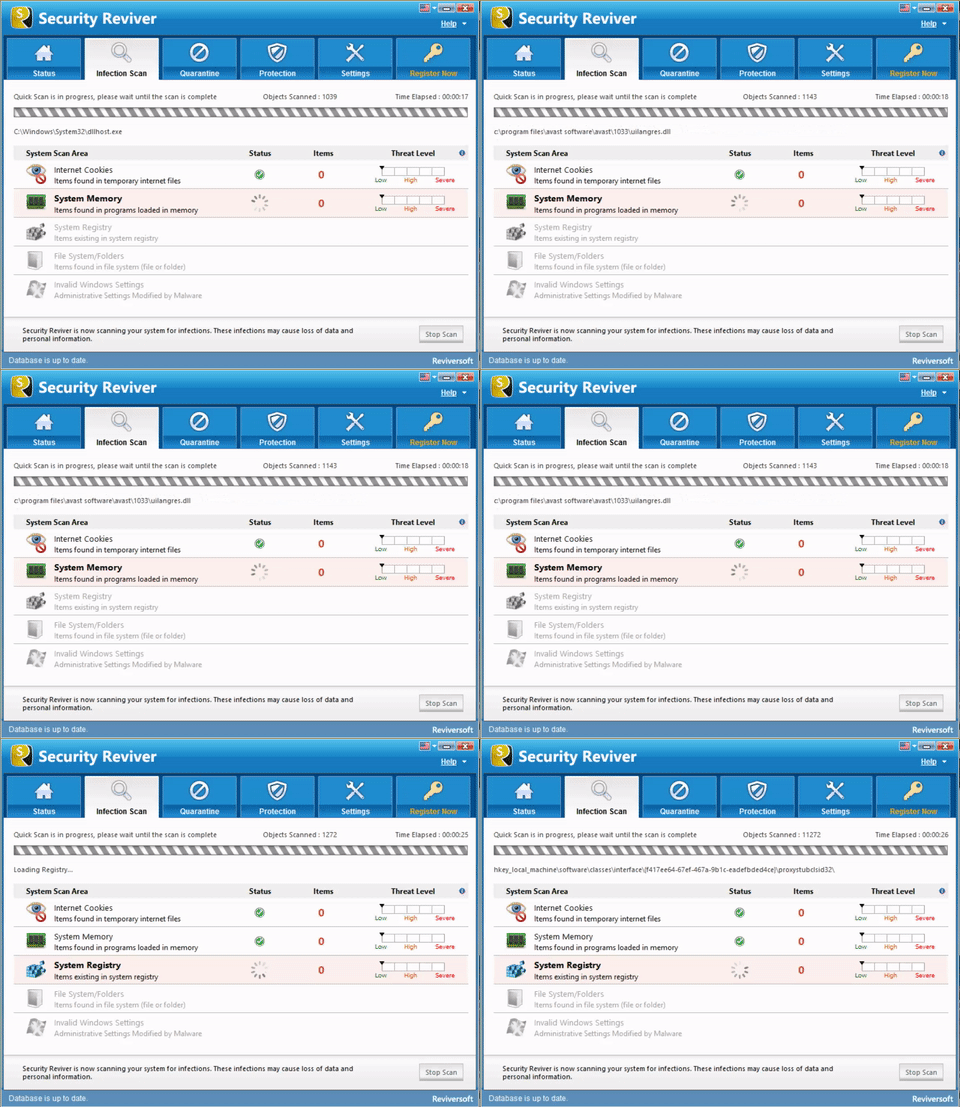
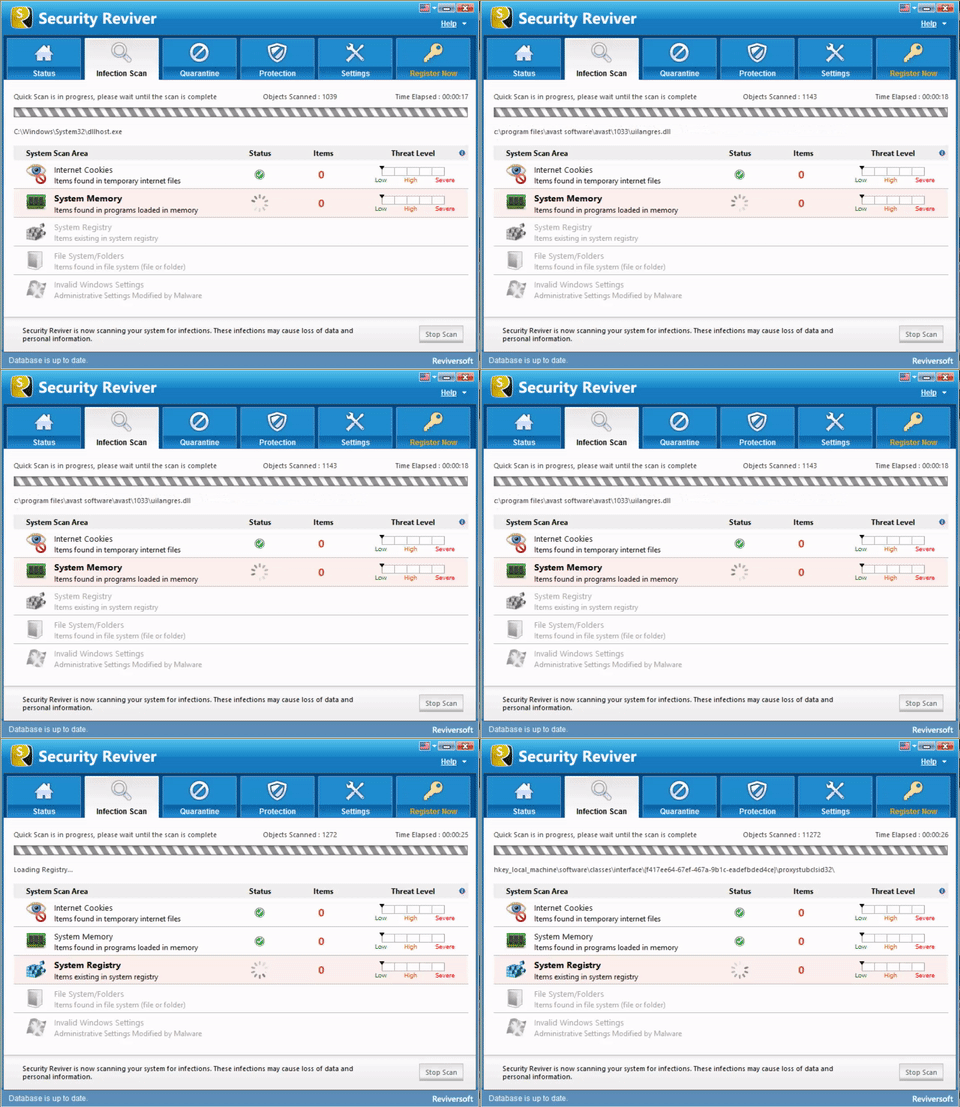
Windows works with a special hierarchical file-based database called the Windows Registry, where it stores tons of data. Essentially, whenever a new tool or application is installed in your system, it is stored in the registry. All the programs, configuration settings, and components are packed together to be stored in the registry. And the information in the registry keeps piling on with each passing day.
This includes a host of keys and values. In other words, the registry stores files, folders, and information within it. Owing to the value and volume of the data within the Windows Registry, it is imperative to create a backup and fix broken registry issues so that your PC’s performance is not impacted in the long run.
How do you fix broken registry items on Windows 10? Let us find out.
Fix Broken Registry Items On Windows 10
There are quite a few processes that you can take up in order to fix broken registry items on Windows 10.
The first would be creating a backup and then restoring your system to that particular restore point.
In another situation, you could scan the computer with a system file checker.
As a third option, you could also make use of tools that can scan and fix your computer. Let us explore each of these options in detail.
Method 1: Creating a registry backup and system restore point
1. Registry back up
The first step in the process to fix broken registry items on Windows 10 is making a backup of the registry in question. This location essentially contains huge volumes of information that are necessary for working with the operating system.
Creating the backup becomes imperative since it can help restore to the particular point as and when required. While there are some ways you can use to create the backup, the following is the easiest method.
- Go to the Start Menu, type Run, and press the Enter key. This should open up the Run command window. You could also open the same window by clicking on the Windows + R key together.
- Once you are on the Run window, all you would need to do is type in ‘regedit’ and click enter, to reach the Registry Editor window.
- At the Registry Editor, you would come across the Computer option at the top left corner. You can click on this option and click on Export.
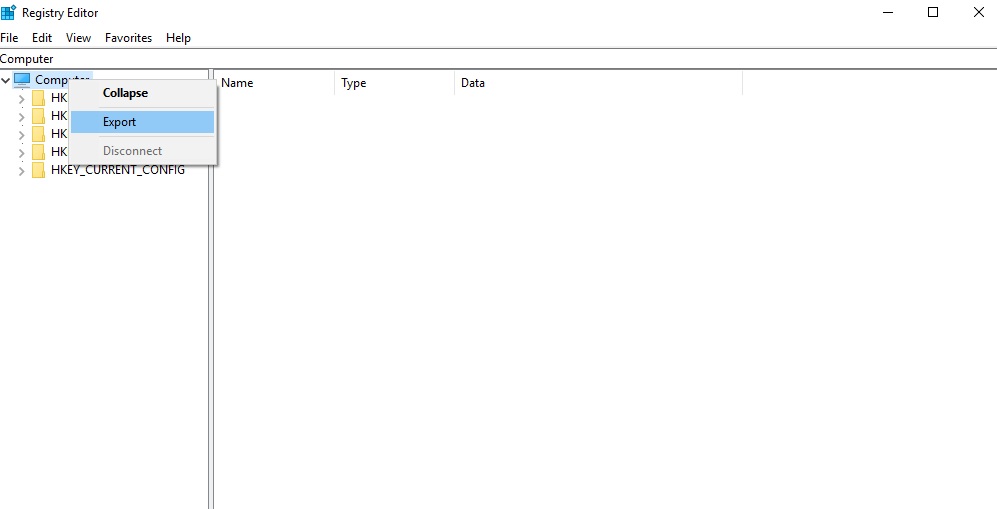
- Thereafter, you will get a prompt to save the backup file. Provide a name and save the file.
This effectively saves the backup as a file on your system. The backup file is saved as a *.reg extension, indicating registration files.
2. System Restore Point
The next step to fix broken registry items on Windows 10 is creating a system restore point. The process is very simple. Follow the below steps.
- Type Control Panel in the search box of the taskbar. Choose the option from the list of results.
- On this menu, click on the System option.
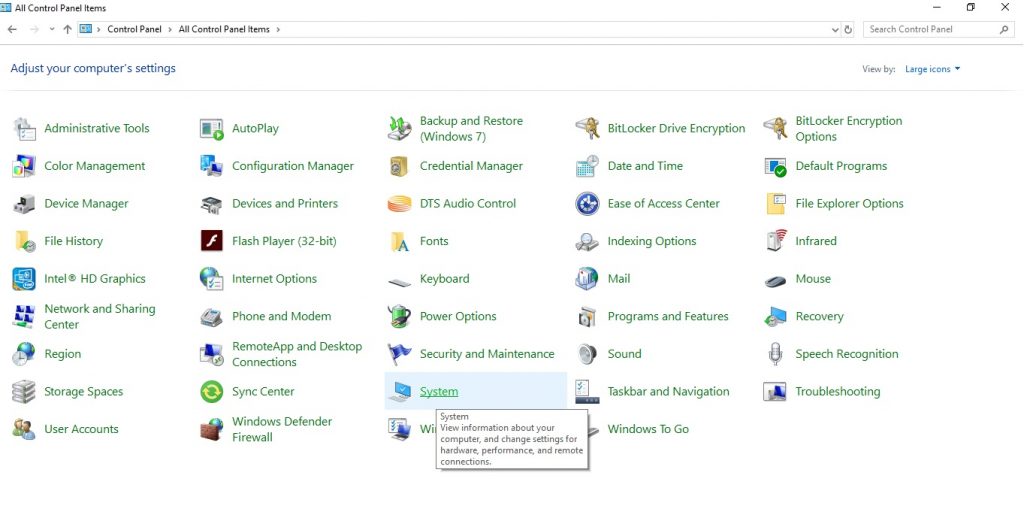
- At this point, the new page contains a list of options on the left panel. The last option is the Advanced System Settings. Click on this option.
- The System Properties page opens up. This window features a number of different tabs for different operations. Navigate to the System Protection tab and go down to the last option called ‘Create’.
This essentially creates a new restore point that allows system protection.
3. Restore Registry
After creating the restore point, you would then restore the registry from the backup point or the restore point. There are two options for achieving this.
Option 1:
- Go to the Run command page on the Start menu, and type in regedit, and hit enter. This takes you back the Registry Editor screen you had started off with.
- Click on the File menu on the page, and from the drop-down menu, click on Import.
- This opens up a pop up called the Import Registry File. Here, you would have to navigate to the location or path of the backup file saved and open it.
Option 2:
- Open up the Start menu on the desktop, click in the search bar and type in ‘create a restore point’.
- In the System Properties page that comes up, navigate to System Protection and click on System Restore.
You could work with either of the two methods. Both of these processes restore the registry and make it fit for use again.
Method 2: System file checker to fix broken registry
This is a system tool that is operated through the Command Prompt and is effective for identifying faulty registries within your computer and fixing them. Here are a couple of steps required for conducting a system file check.
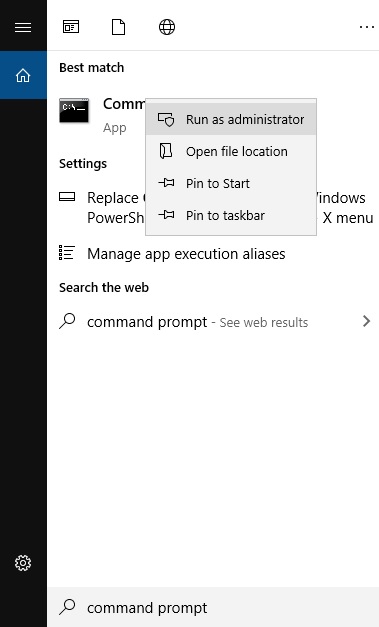
- Type Command Prompt in the search box of the taskbar. Right click on it and choose ‘Run as administrator’.
- Type ‘sfc /scannow’ in the command prompt and hit enter.
- That does the job for you, and you can go ahead to fix the registry errors.
Method 3: Use PC Reviver to fix broken registry items
PC Reviver for free registry fixing is an efficient tool that helps you to identify pain points of broken registries within Windows 10 and helps fix them. PC Reviver works primarily by removing unnecessary items from your registry and keeping it clean and protected.
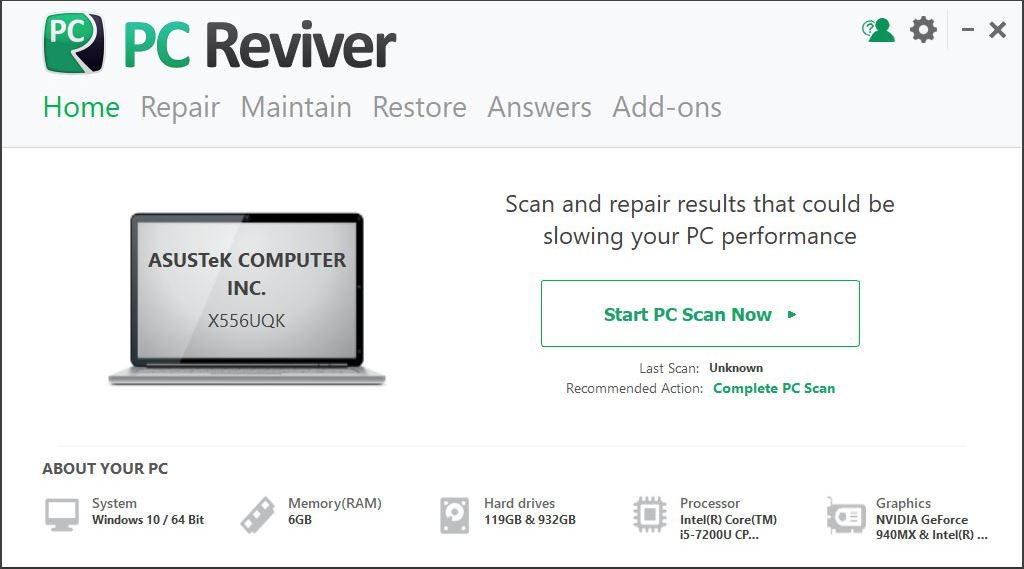
Here are the steps you need to follow to improve your computer’s performance, speed, and stability.
- Click here to download PC Reviver software.
- Install PC Reviver in your computer by following the on-screen instructions.
- Click on Repair Tab on PC Reviver’s main screen. Click on the Scan button present at the bottom of the screen to start the repair process.
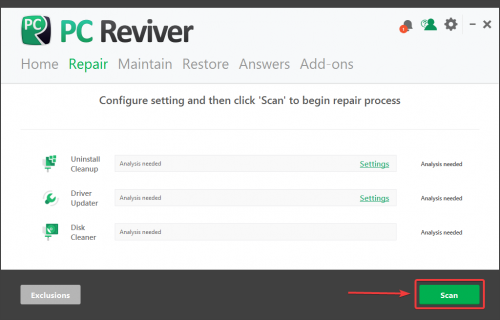
- PC Reviver will start scanning your computer for registry issues and once the scan is complete, you will see all the broken registry items in your computer.
- Click on the Repair button to fix the broken registry items in your computer. That’s all, your PC is now successfully repaired.
Cleaning and fixing your Windows registry is not a very difficult challenge. It takes a few minutes but can hugely impact your system’s performance in the future. Also, there are only a few easy steps you need to follow to achieve this. PC Reviver does a good job of maintaining the health of your registry and fix broken registry items on Windows 10.


