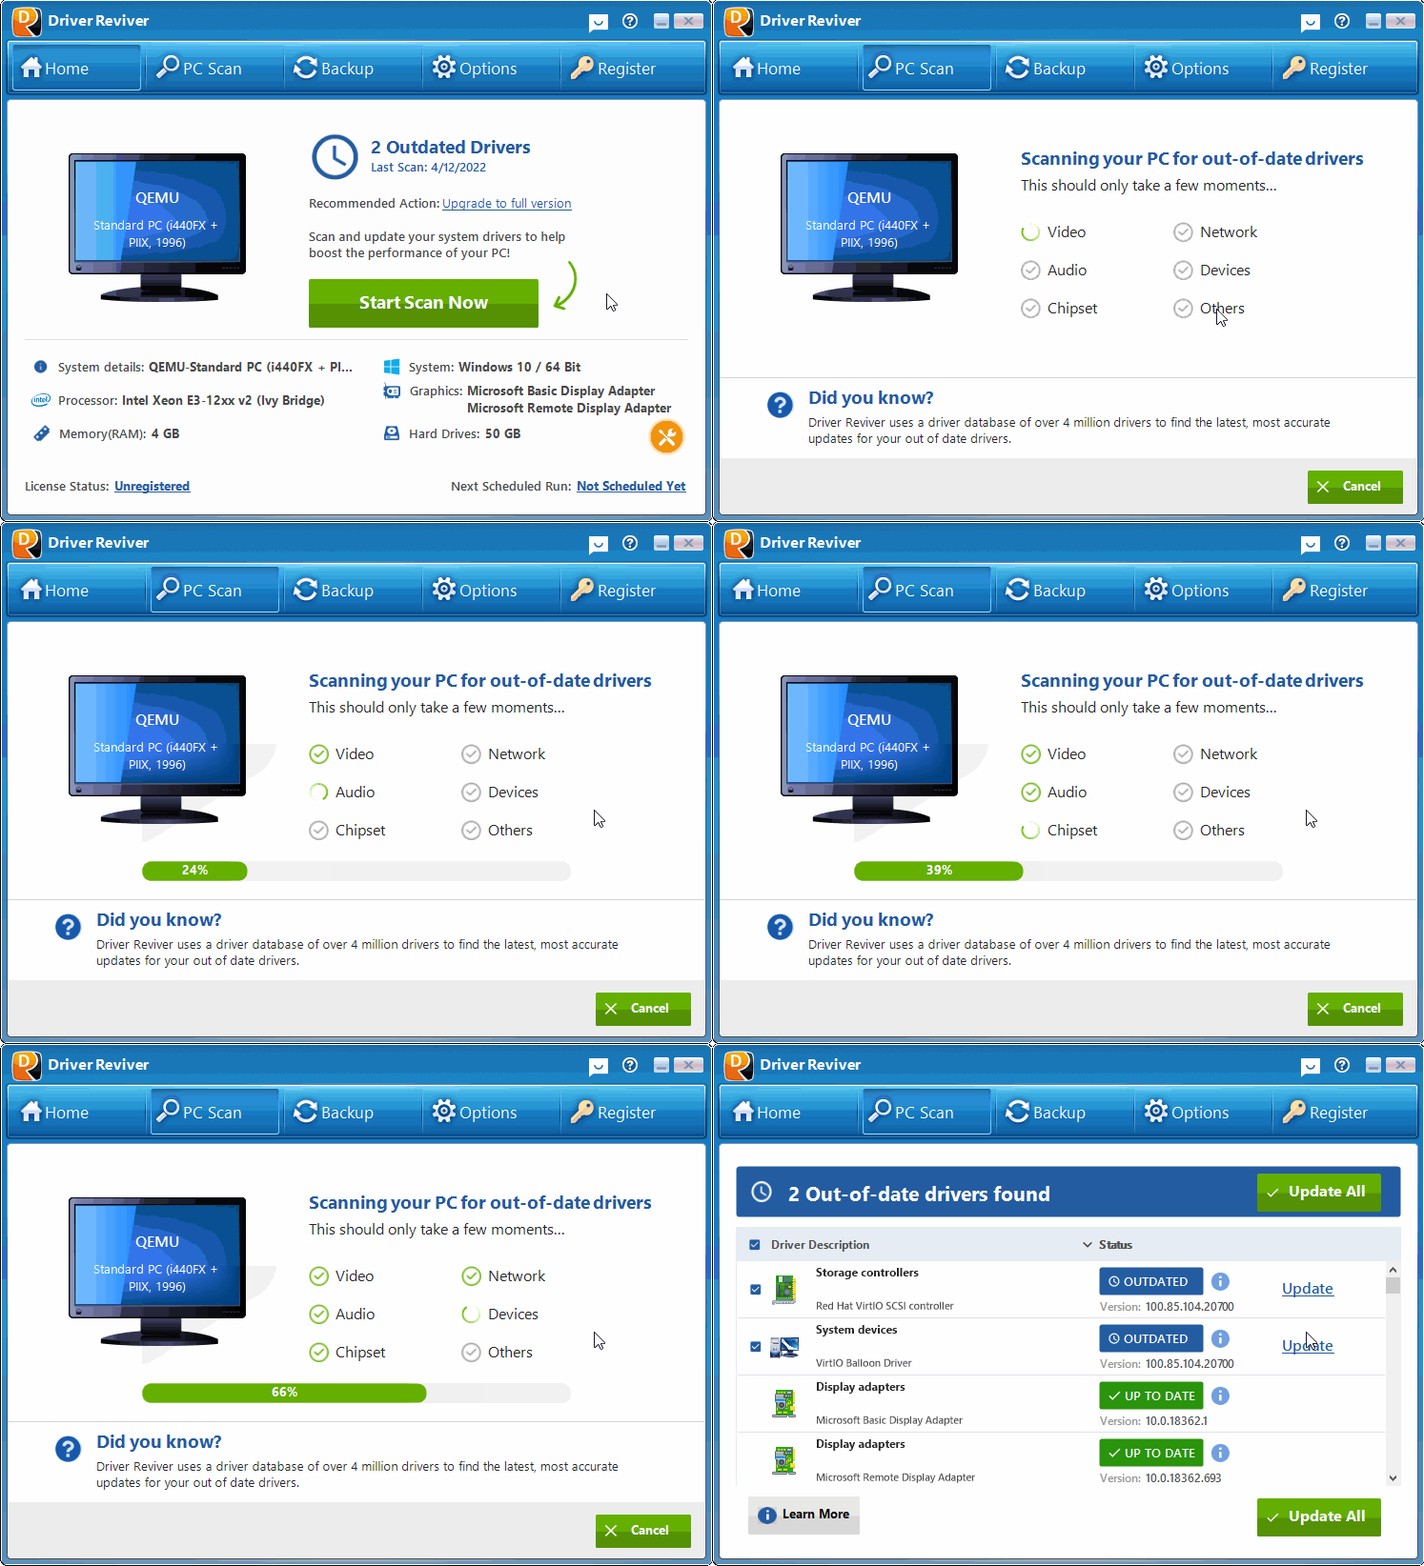
Driver Reviver provides up-to-date bug fixes and new driver features direct from the software’s original manufacturers. With Driver Reviver, you won’t have to think about your computer’s drivers ever again, because your new electronic assistant is on the job.
But how can you make the most of its features?
Here are 5 ways Driver Reviver will make your life easier.
1. Before you do any scan, do a backup.
Let’s say you want to make doubly sure that some random driver update you’re installing doesn’t end up having a conflict with something else. (You’ve probably had that happen to you.) You have the option to backup all your existing drivers at any time.
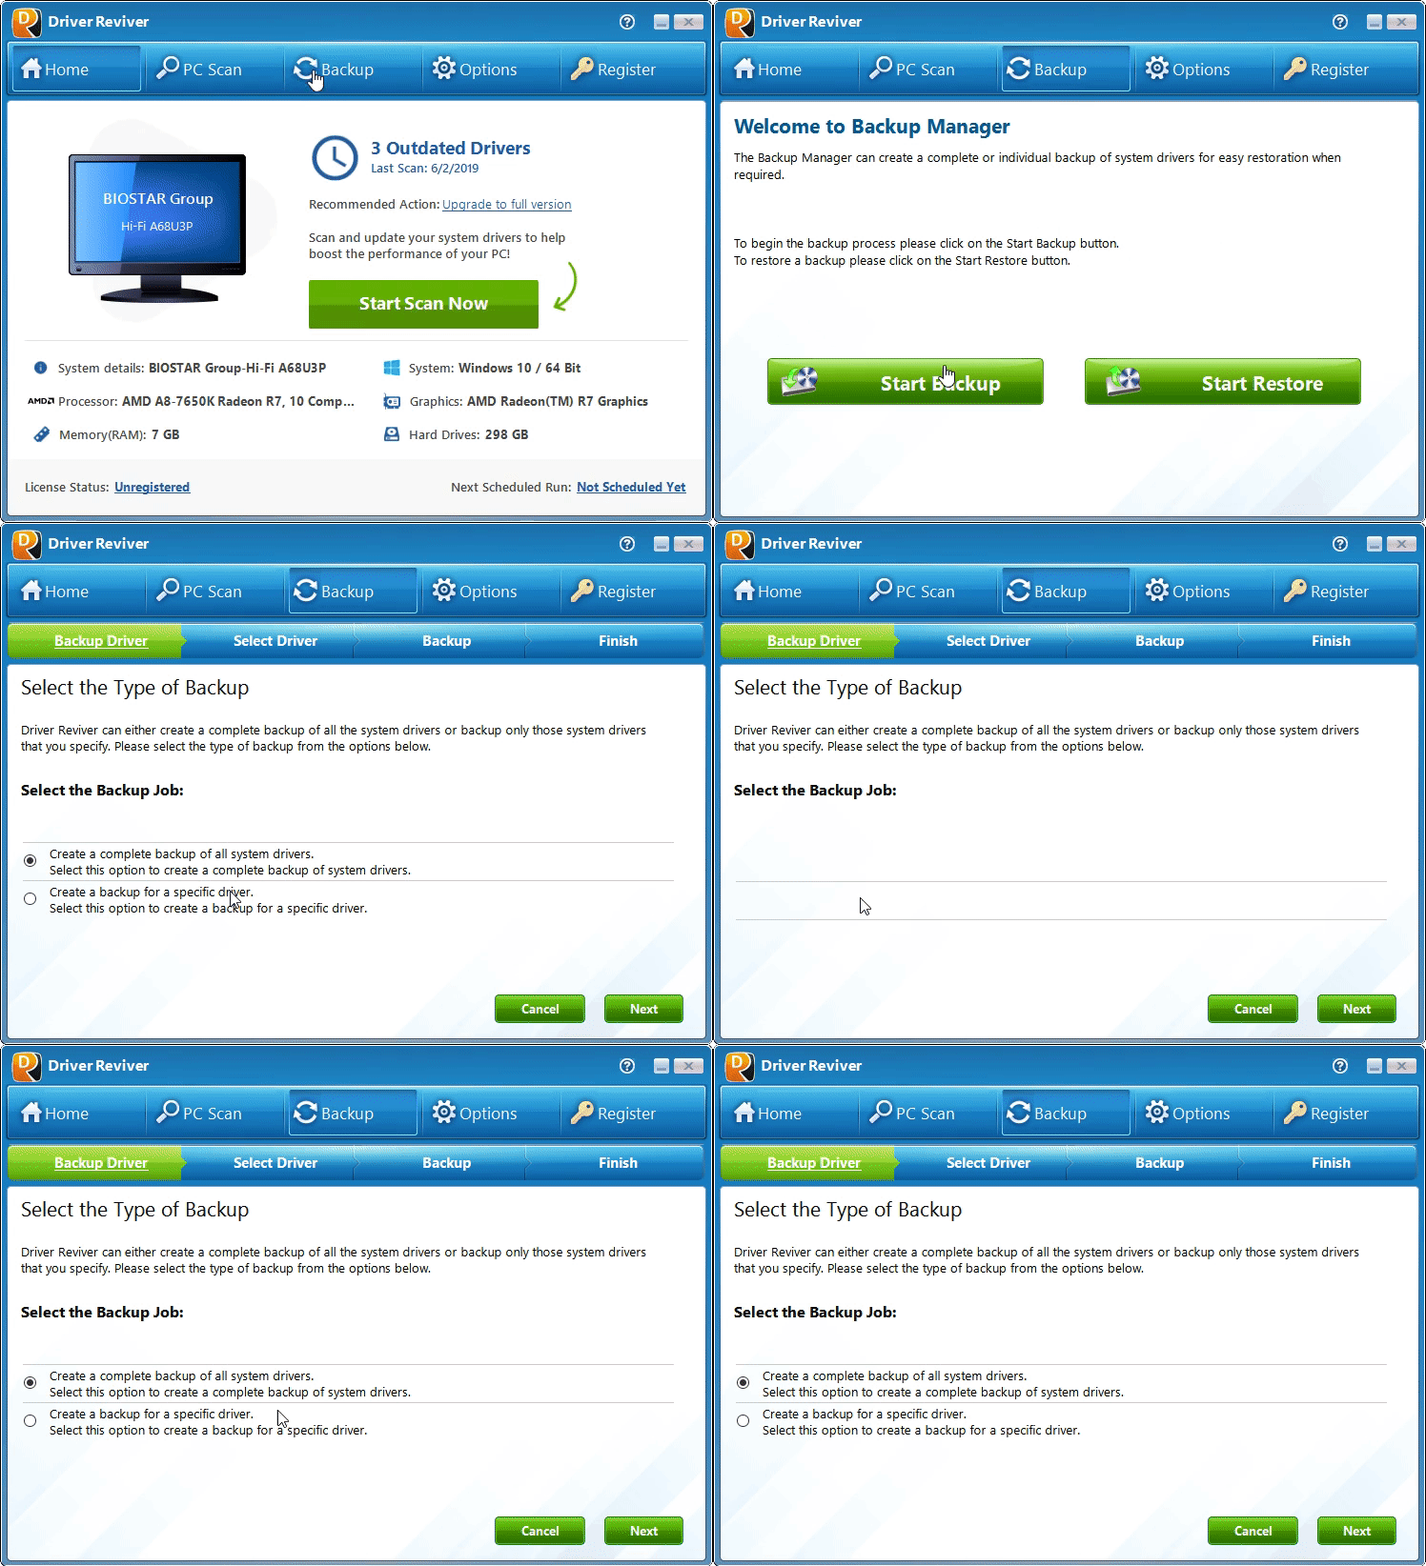
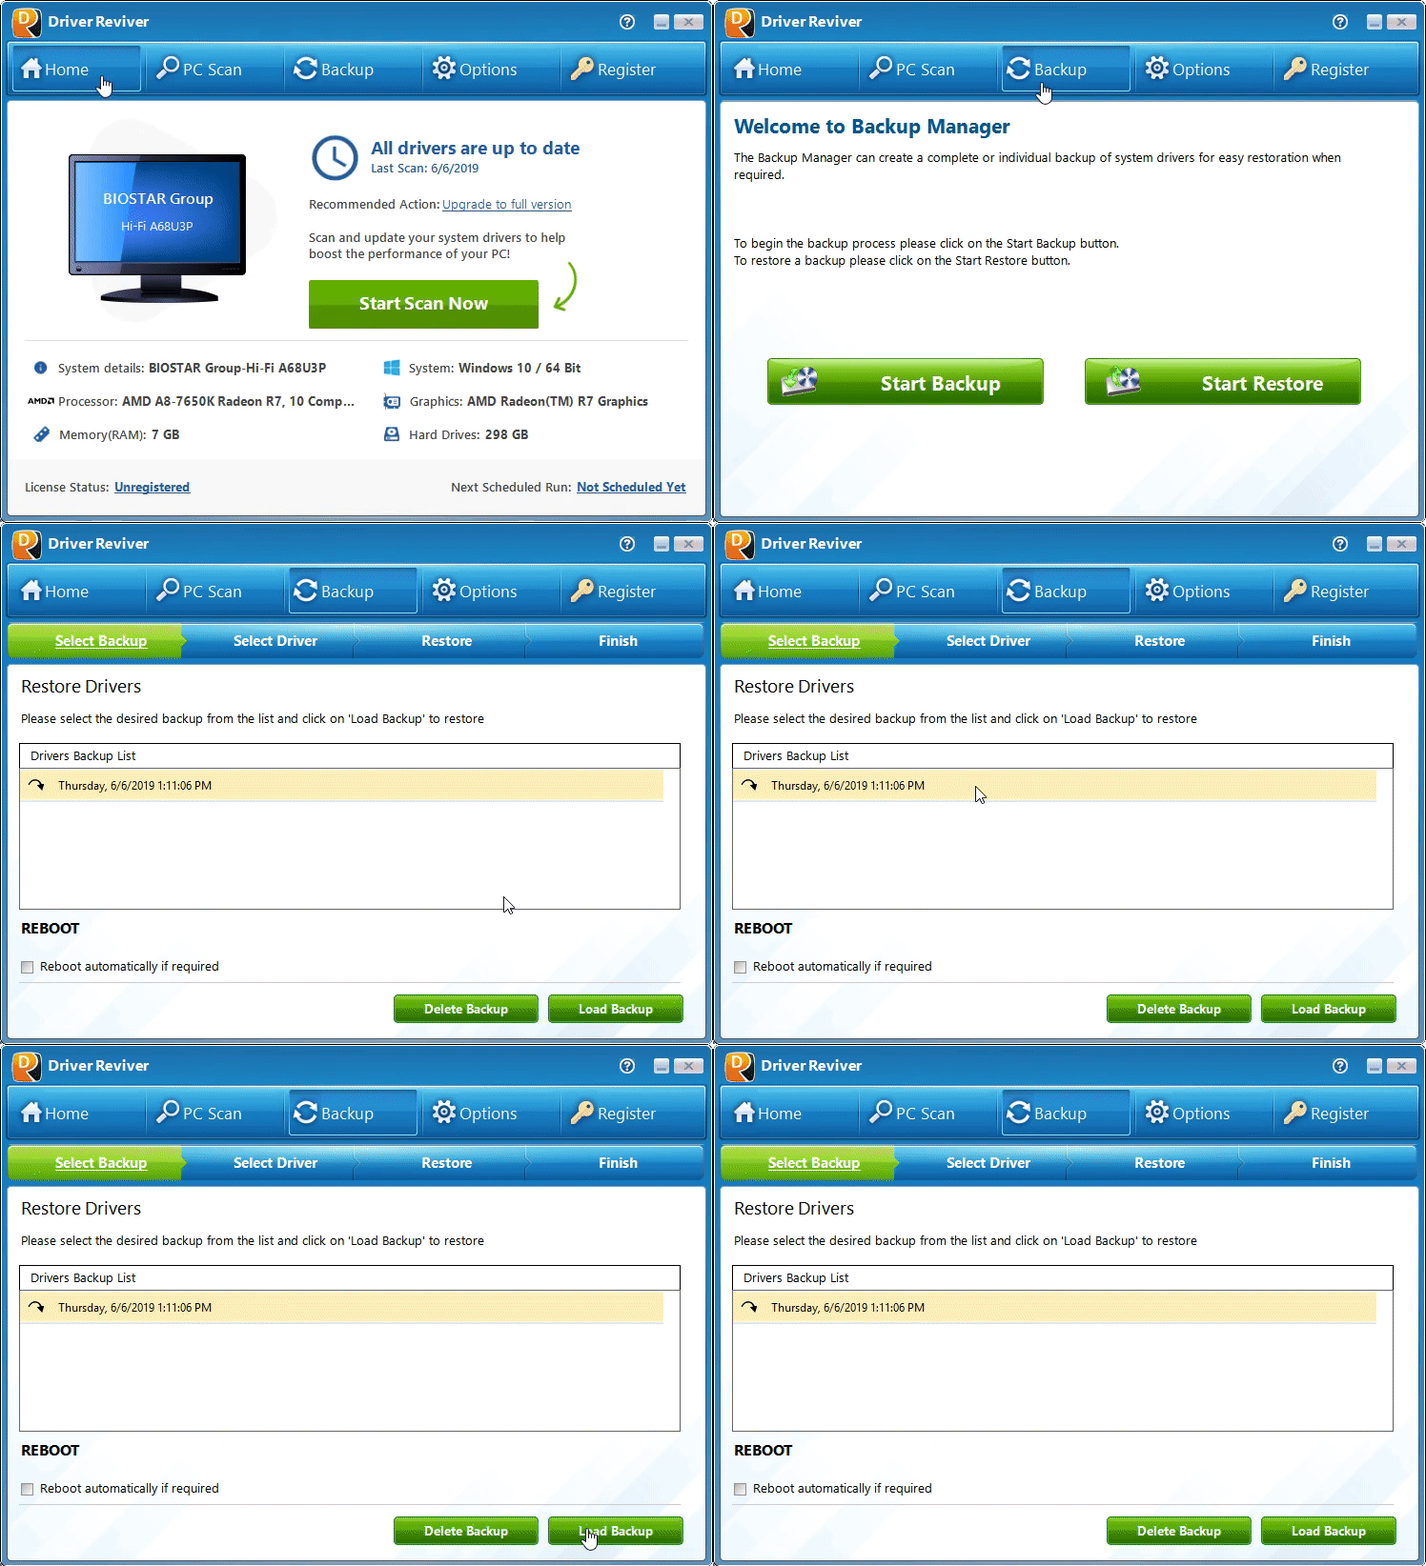
In the main menu bar, click the Backup (double arrow) icon. Then, click Start Backup to back up your PC’s existing full suite of drivers (both the good and the bad). This is useful to run first, in case something happens during the driver update process. You can also choose to backup only specific ones if you’re looking to update only one or two drivers.
2. Restore an existing driver if its update creates a conflict.
Software companies don’t consult each other about incompatibilities–you get the pleasure of discovering those yourself. If you find out that an updated driver is now giving you trouble somewhere else, you can quickly restore and use the older version. From the main menu bar again, click the Backup (double arrow) icon. Then, click Load Backup. This will restore some or all of your backed-up drivers from the backup you created earlier.
3. Save yourself a step by setting up automatic scans.
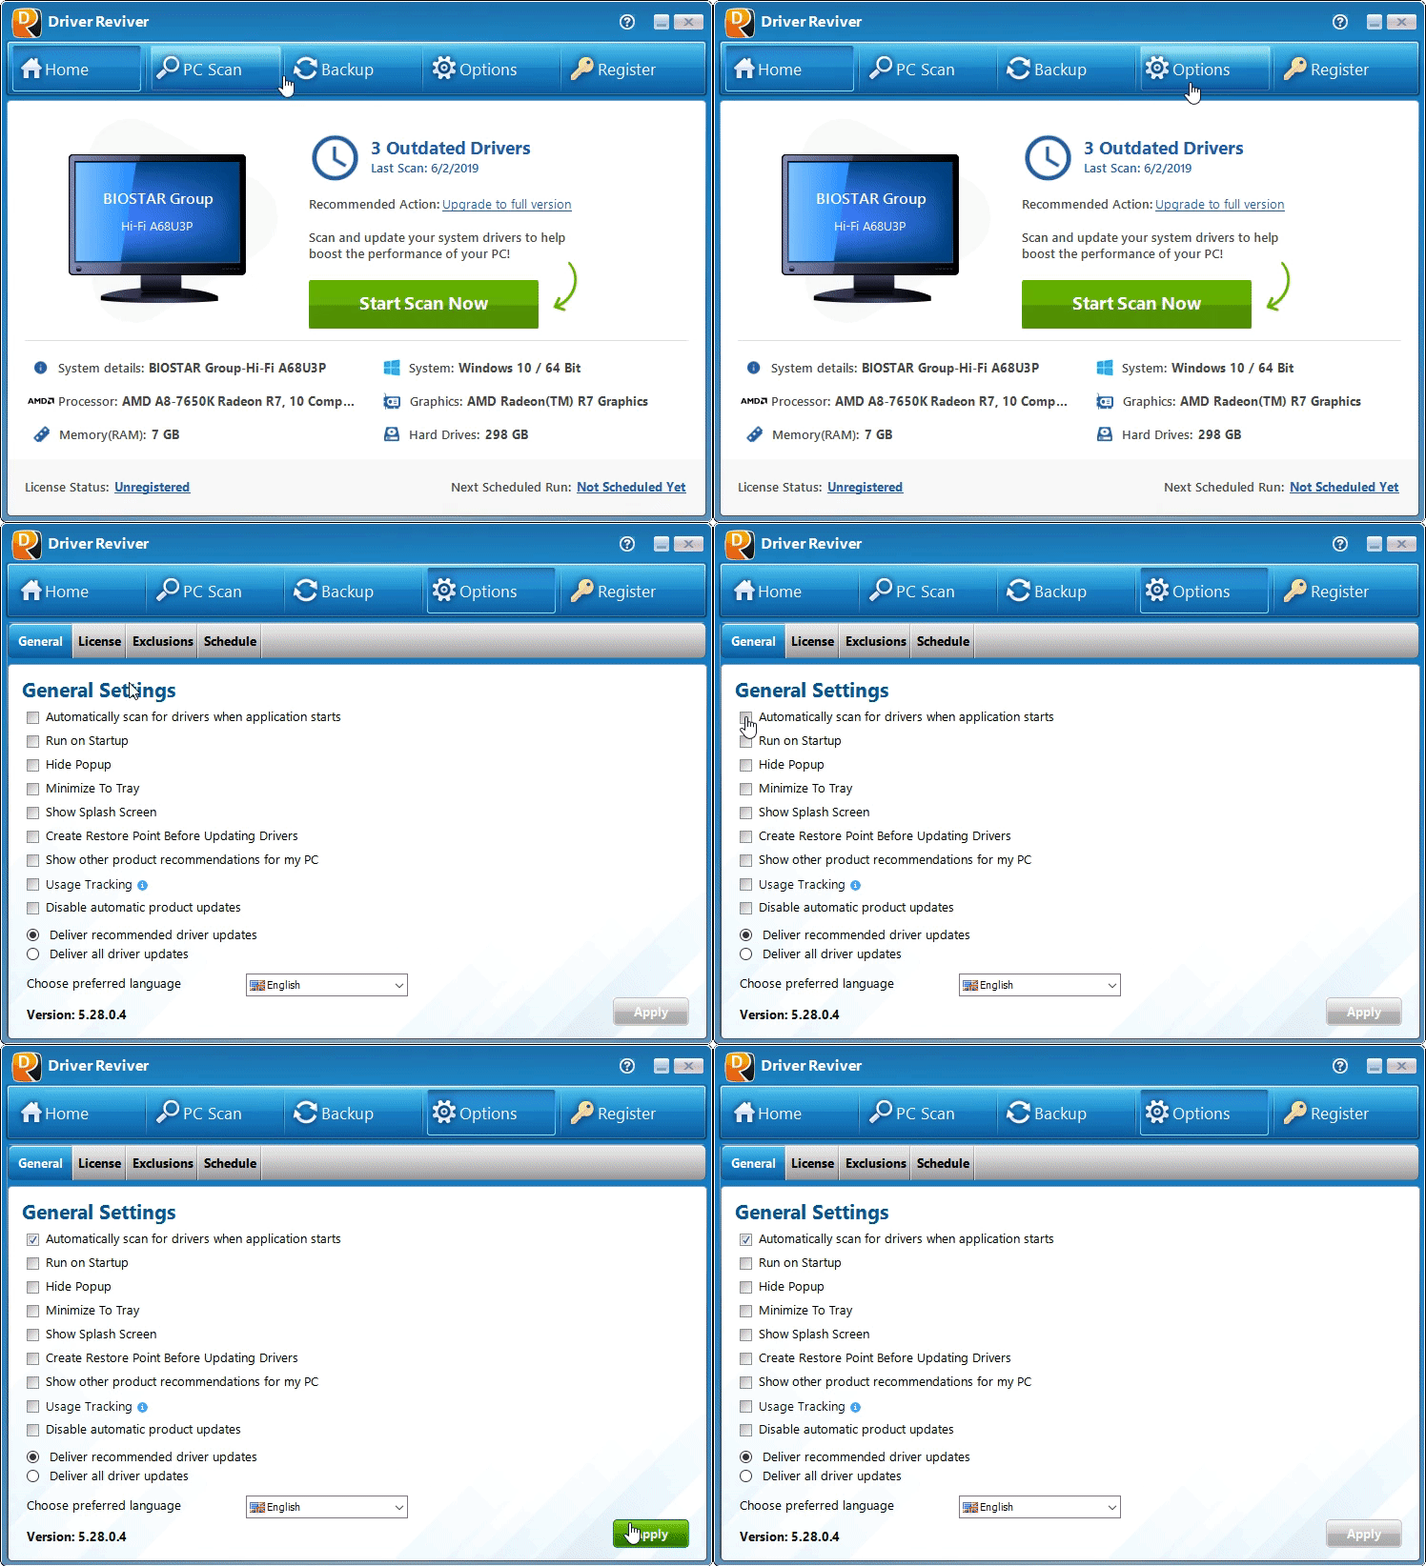
Click the Options (gear) icon, then click on General. This opens General Settings, where you can decide whether to start the scan automatically when Driver Reviver is launched, or wait until you launch it manually. Unless you change this, the default setting is for manual scans. Another option here lets you set up Driver Reviver to scan for new drivers whenever you start up your PC. This option is turned on by default, so if you don’t want to wait for it to scan every time you turn on your computer, you can turn off that option.
4. Schedule scans for ultimate convenience.
Since scanning can take a few minutes, you don’t necessarily want it to happen when you’ve got your mind on the task ahead. Set the time of day and frequency of your driver scans to happen automatically, at a time when it won’t get in your way.
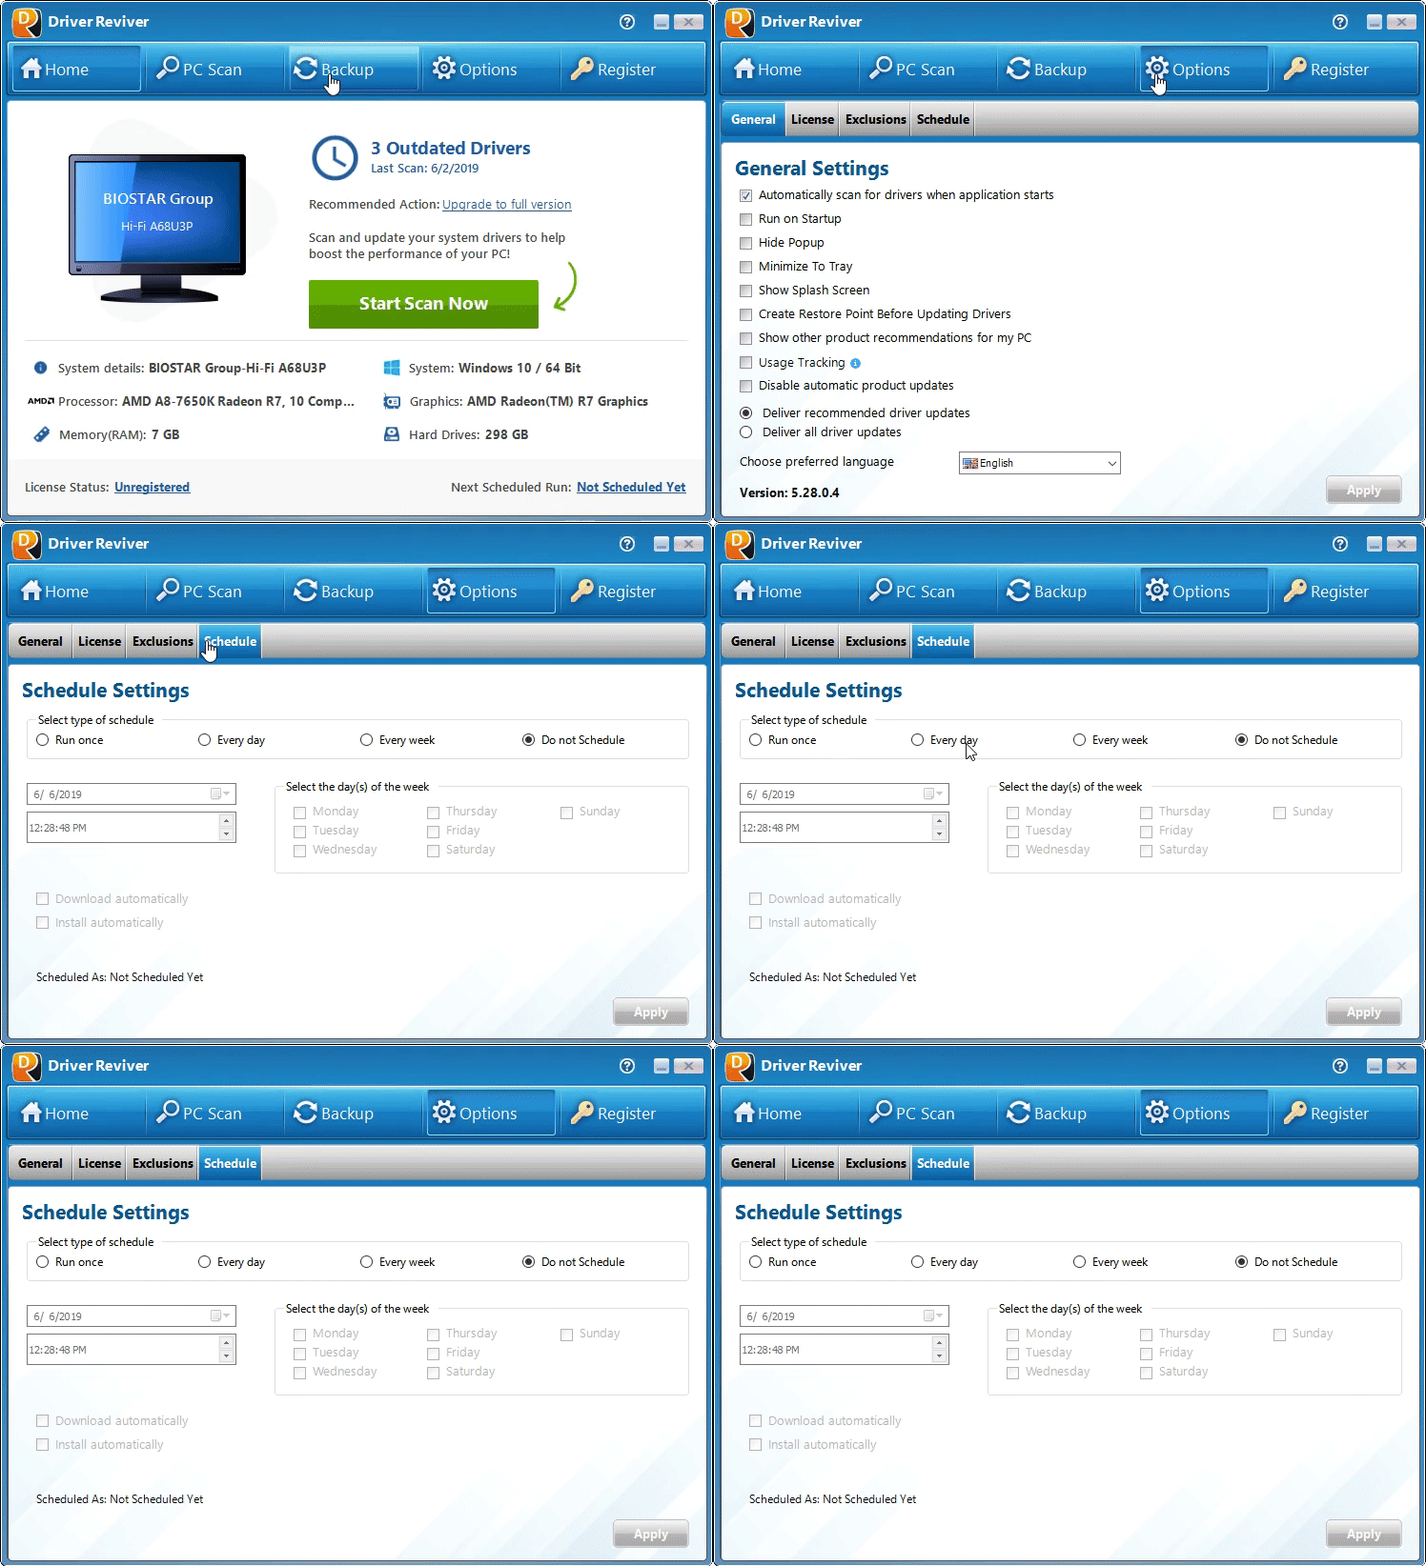
Click the Options (gear) icon, then click on the Schedule tab. Under Schedule Settings, choose whether you want to run the scheduled scan once, every day, every week, or not at all. Next, choose a date and time, or a day of the week, then click Apply to set up your scheduled scan. You can also have it automatically download and install any updates found.
5. Set Driver Exclusions.
Although uncommon, some drivers may cause issues when you update them. You may not need those drivers, or even care if you have the newest update for fancy stuff you don’t ever use.
If you have older, compatible versions of those drivers, you can exclude them from future scheduled scans by adding them to the Driver Exclusion List.
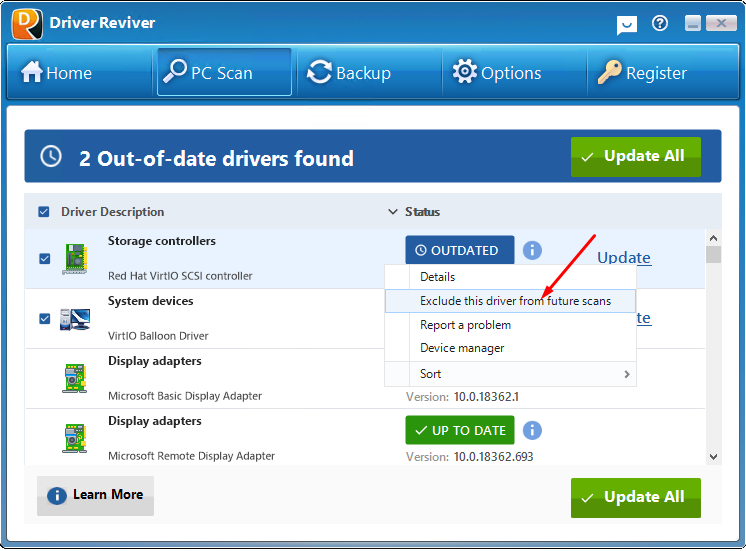
Navigate to the Scan Results page after completing a driver scan. Find the unwanted updates in the results list, and right-click on each one to choose the option, Add Drivers to Exclusion List. They will be excluded from updating during your next scheduled scan.
If you change your mind later, or wish to update your driver in the future, you can undo this action by selecting Settings and then Driver Exclusion to see your Driver Exclusion List.
Select the driver(s) you wish to update and click on Remove Item, or, if you want them all updated, click on Remove All Items. They will then be included in future scans.
Questions?
Contact Reviversoft Support


