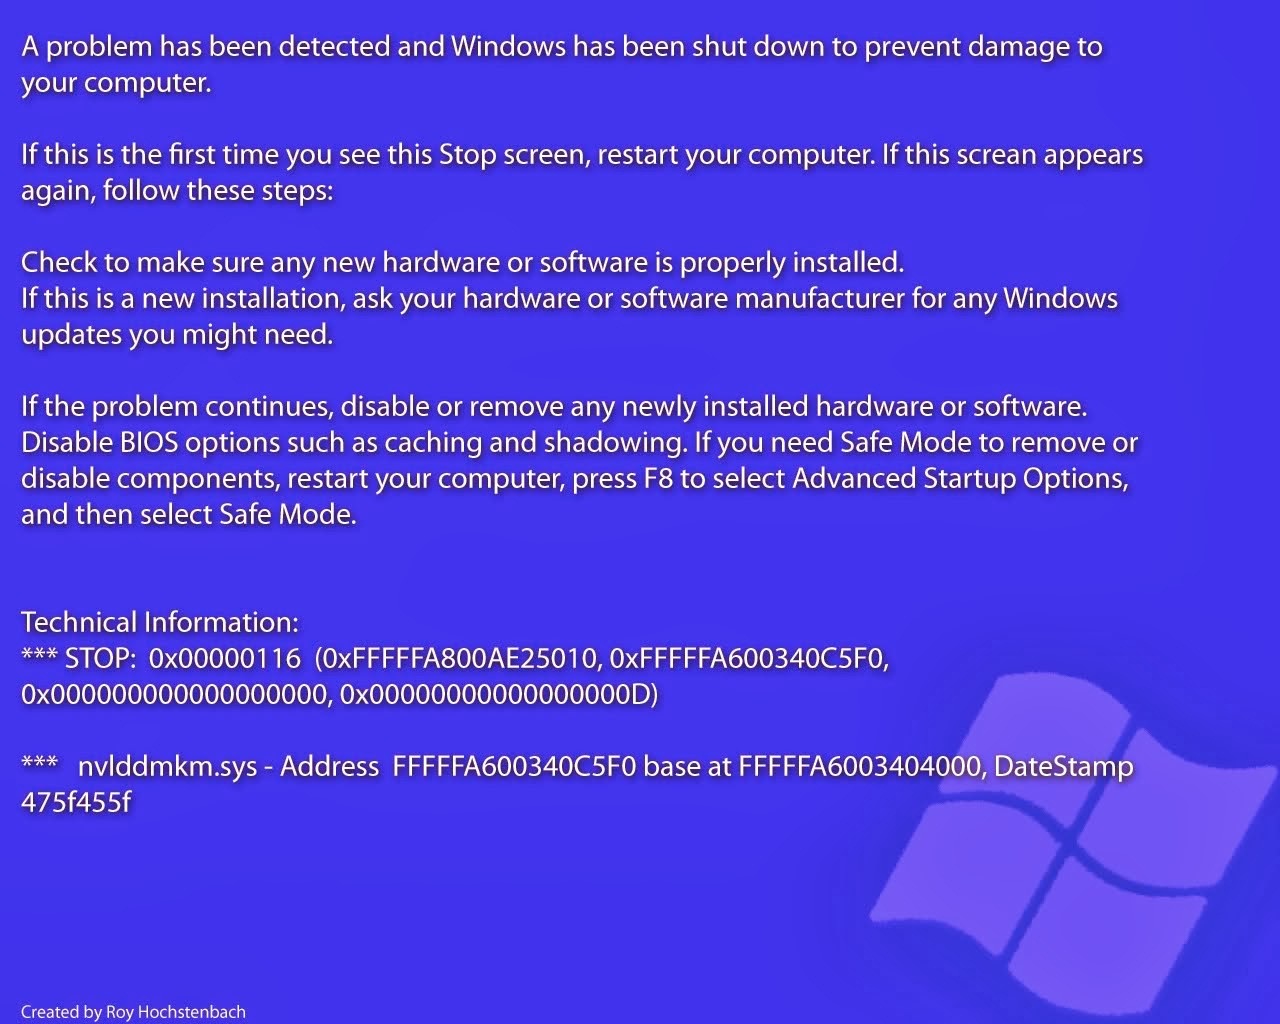
The DLL_INITIALIZATION_FAILED Blue Screen of Death Error is usually caused by the failure of an application to initialize primarily because of the window station shutting down. A missing or damaged Remote Access Service (RAS) can also cause this error. Originally, the use of the DLL application is for error reporting. The application will gather data about software malfunctions and send it to Microsoft afterwards.

The error manifests itself by making a message box appear stating that the initialization has failed and will terminate the process abnormally whenever a user is trying to access the Control Panel. The Service Tool button will also disappear from the Control Panel whenever this error is present.
Fixing the DLL_INITIALIZATION_FAILED error requires a longer time than most stop errors and the process is a little complex. An initial solution is to edit the registry. This process varies between different versions of Windows software. For Windows XP, first is to click the Start button and type regedit on the Run dialog box. After pressing the enter key, run the following key: HKEY_LOCAL_MACHINE\SYSTEM\CurrentControl\VirtualDeviceDrivers. Another window will appear and in the right pane, delete the VDD value. Proceed to the left pane of the window, right click the Virtual Device Driver key and then click New and choose Multistring Value. You can now exit the registry editor and restart the computer.
In fixing the error on Windows 2000, click the Start button and type regedt32 on the Run dialog box and press Enter. Find the following key: HKEY_LOCAL_MACHINE\SYSTEM\CurrentControlSet\Control\VirtualDeviceDrivers then proceed to the edit menu and click Add Value. A separate window will pop up and then in the Data Type menu, click REG_MULTI_S2. Restart the computer afterwards.
Another set of resolution is also helpful in eliminating this error. First is to extract new copies of the RAS files. To do so, use Windows NT Explorer and rename the Rascpl.cpl file and the Rasscrpt.dll file which are located in the same folder where the Windows NT Explorer is installed. Next is to remove the RAS service by clicking the Start button, then proceed to the Settings and the Control Panel. Go to the Network tab and click the Services button. Open the Remote Access Service and uninstall it. Restart the computer afterwards. Removing and installing the modem again is also a solution to verify the legitimacy of the copy of all the files. After removing and reinstalling the modem, install the Remote Access Service again and restart the computer.


